
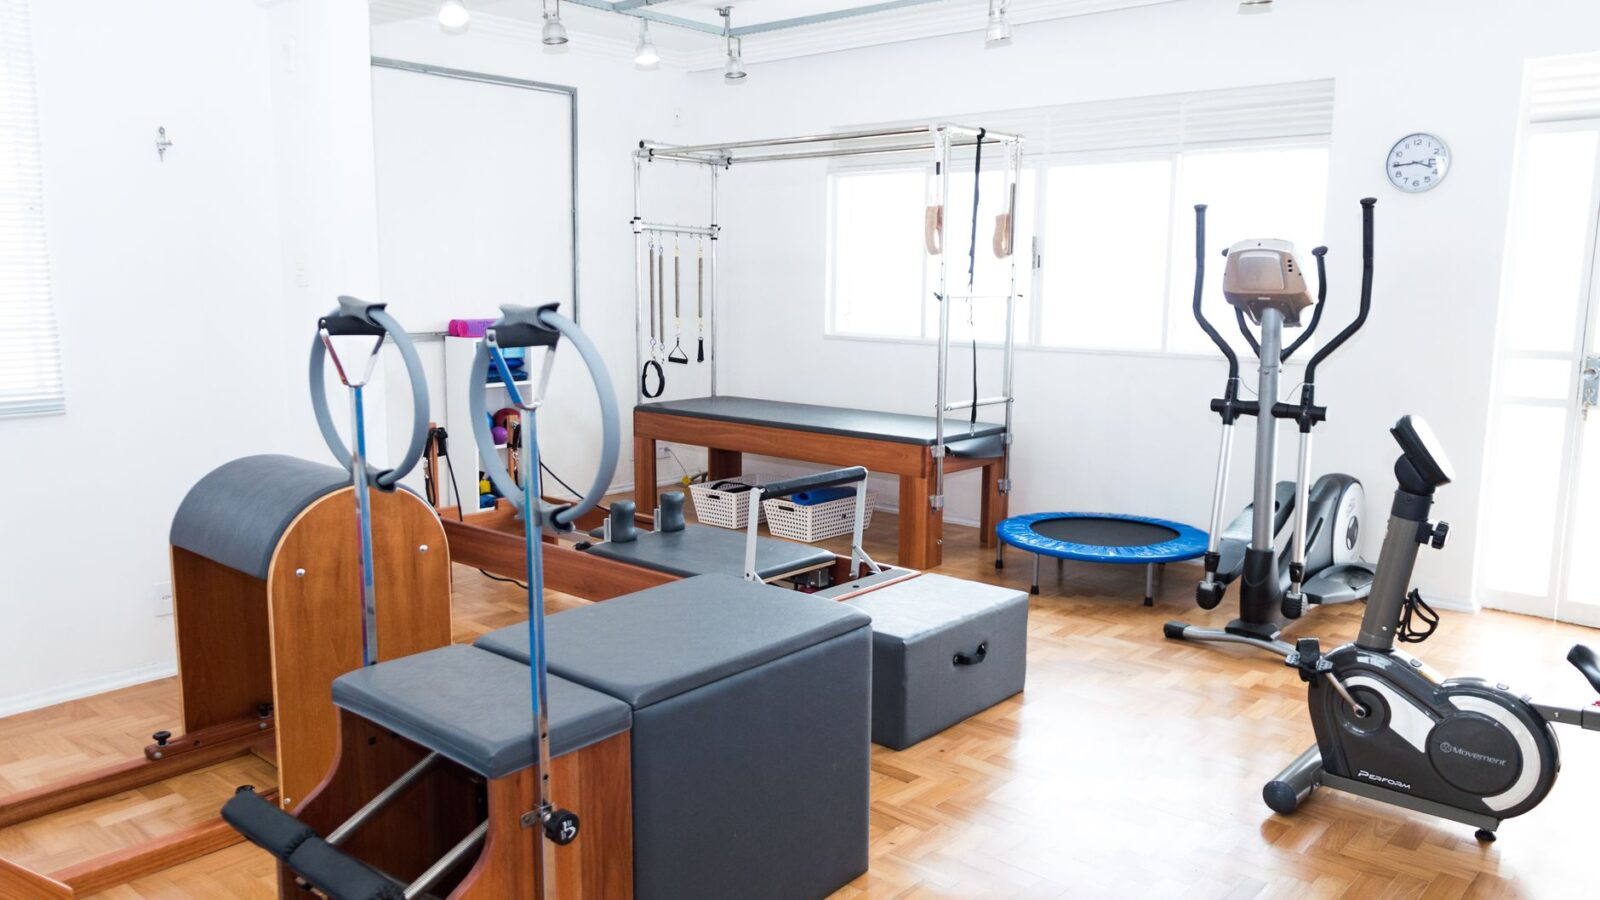
We’re all in the same place when we first think about building a budget home gym: the excitement of being able to lift whenever we want, the dream of a personalized workout space, and the nagging question of how to do it without blowing the bank or turning the living room into a cluttered chaos zone. If you’re a beginner looking to grow muscle, improve strength, or simply stay active, a home gym can be the most efficient, cost‑effective way to get there. But the key is to make it fit the space you have and the goals you want to hit.
In this guide, we’ll walk through the exact steps you need to turn any corner of your house into a muscle‑building powerhouse. From measuring your room to choosing equipment that does double duty, we’ll cover everything that matters for a budget‑friendly, goal‑oriented setup. Ready to get started? Let’s dive in.
Creating a budget home gym means focusing on versatile equipment that gives you the most bang for your buck.

Step 1: Define Your Goals and Space for a Budget Home Gym
Before you even think about buying a barbell or a treadmill, ask yourself what you want to achieve. Are you looking to bulk up, build lean strength, or just keep a general fitness routine? Your goals will dictate the types of equipment that matter most.
- Strength & Hypertrophy: You’ll need a power rack or at least a sturdy squat stand, adjustable dumbbells, and a bench.
- Functional & Endurance: A kettlebell set, resistance bands, and a pull‑up bar can cover most moves.
- Mixed Training: A combination of the above, plus a cardio option like a rowing machine or a bike.
Once you’ve nailed the goals, it’s time to measure the actual room. Use a tape measure or a laser distance tool to note width, height, and depth. Remember to account for doors, windows, and any built‑in fixtures that could interfere with equipment placement. If you’re working with a tight space, look for equipment that can be stored vertically or folded away.
Do you have a spare bedroom, a hallway, or a garage? Each area offers different possibilities. A garage might allow a heavier power rack, while a small living room could work with a compact, multi‑use station. Sketch a rough layout on paper or use a free online room planner to visualize how everything will fit.
When planning your budget home gym, consider the layout to maximize space and safety.
Step 2: Build a Core Equipment List for a Budget Home Gym
When budget and space are constraints, versatility is your best friend. Instead of buying a dozen single‑purpose items, choose a few pieces that can be reconfigured for many exercises.
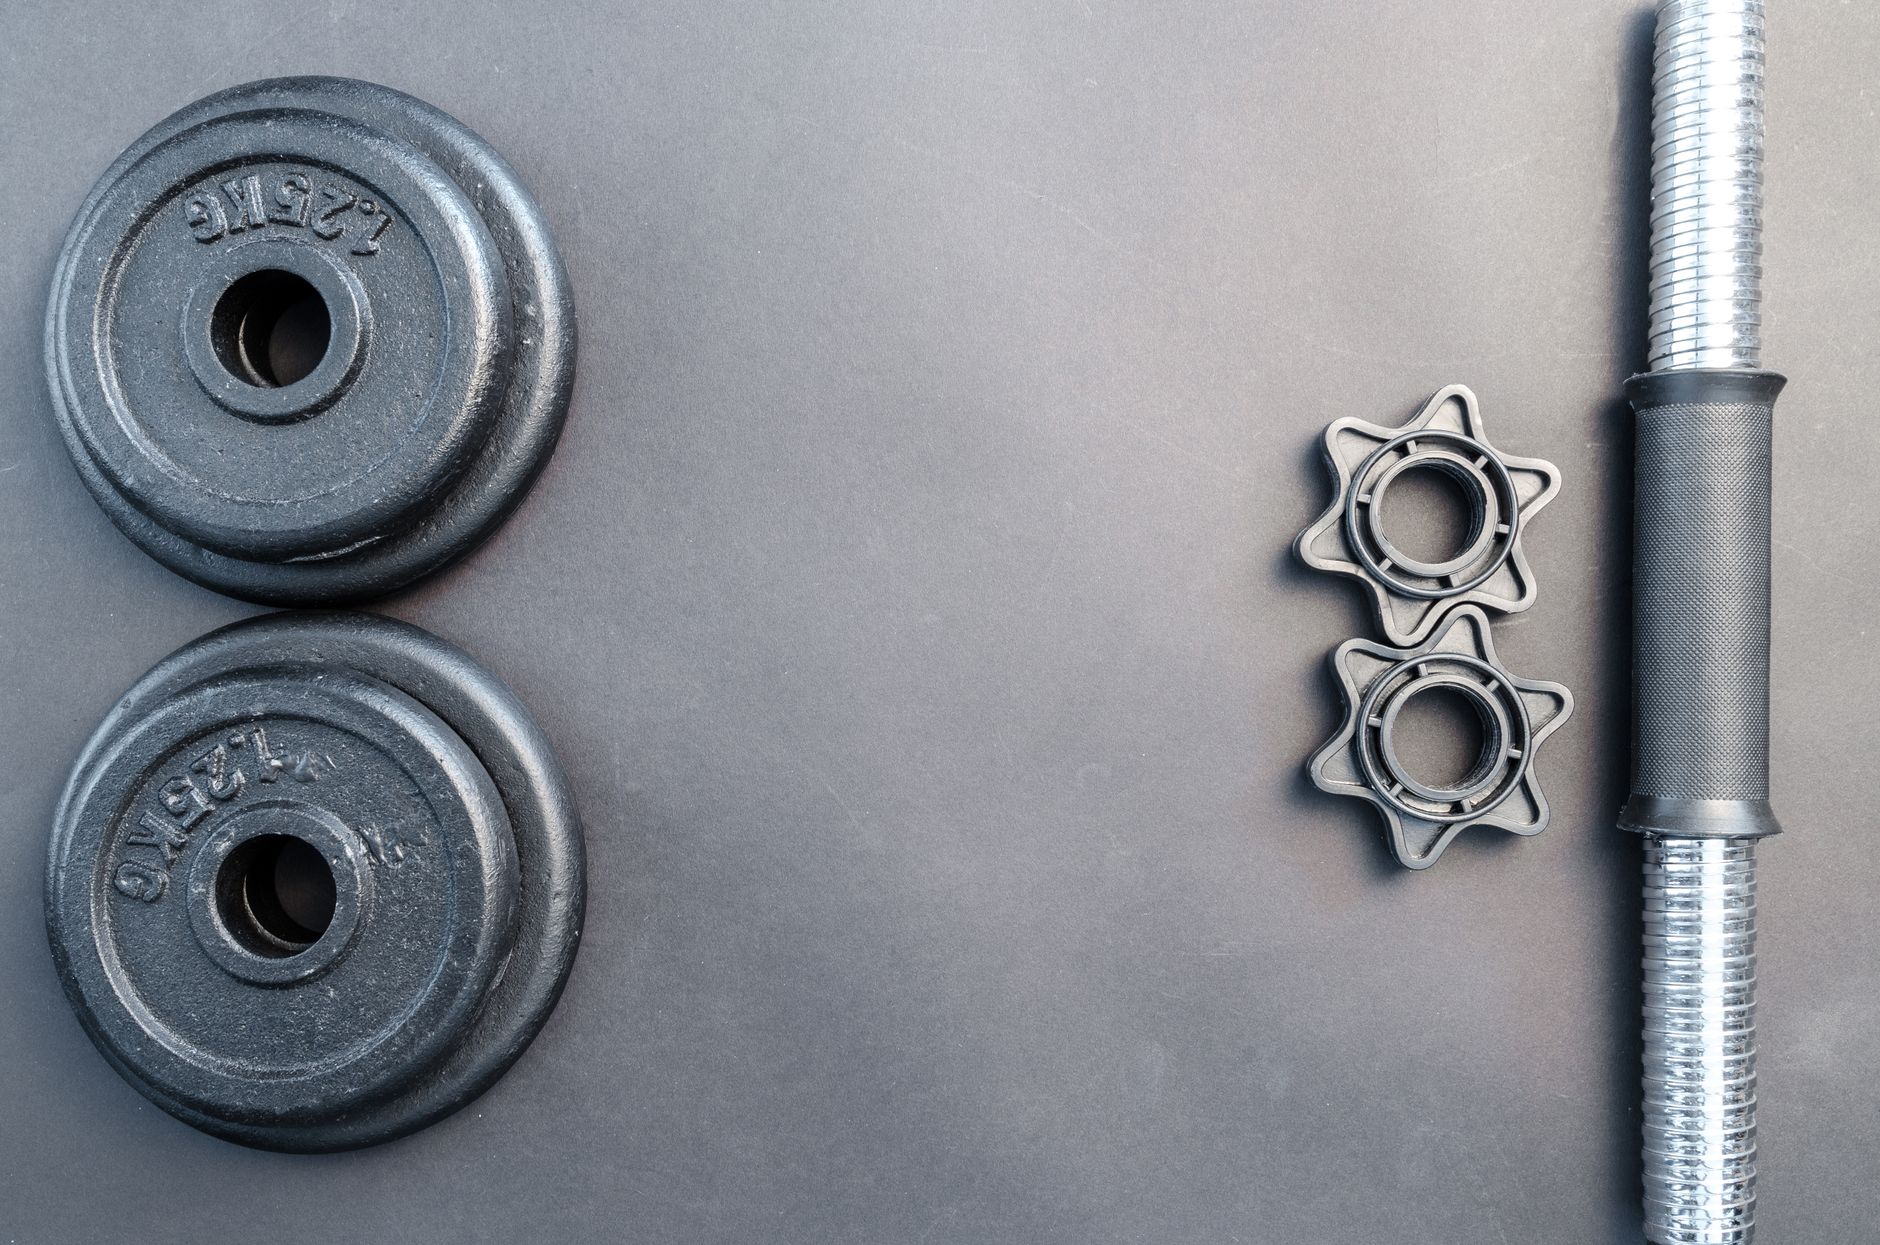
- Adjustable Dumbbells: A set that ranges from 5 to 50 pounds covers most lifts. Look for models that sit flat on the floor or can be stored in a drawer. DIY options include repurposing a sturdy metal pipe and weight plates.
- Barbell and Plate Set: A standard 45‑lb bar with a few pairs of plates (10, 25, 35 lbs) gives you the ability to squat, deadlift, press, and more. If space is tight, consider a 20‑lb starter bar.
- Power Rack or Squat Stand: A rack with a pull‑up bar and safety pins is a powerhouse for compound movements. For smaller rooms, a fold‑down squat stand or a wall‑mounted pull‑up bar can save space.
- Bench: A multi‑position bench that can be used for presses, rows, and even incline or decline work. Look for a bench that folds or collapses.
- Resistance Bands: Cheap, portable, and great for mobility work or adding resistance to bodyweight exercises.
- Cardio Option (Optional): A compact rowing machine or a folding bike can add cardio without taking up permanent space.
- Core & Mobility Tools: A stability ball, a foam roller, and a yoga mat help with recovery and form.
Don’t forget a mirror and a good sound system or a simple speaker. A mirror helps with form checks, and music keeps motivation high. For more ideas on affordable equipment, check out budget home gym gear ideas.
Step 3: Optimize Layout and Safety
With your equipment list in hand, it’s time to think about how to arrange it. A well‑planned layout reduces clutter, improves safety, and makes workouts flow smoothly.
- Centerpiece: Place the power rack or squat stand in the middle of the room if possible. This allows you to move around it easily for different lifts.
- Bench Placement: Position the bench next to the rack or in a corner that lets you pull the bar out and return it without obstruction.
- Storage: Use wall‑mounted hooks for dumbbells, a hanging rack for bands, and a small cabinet or shelves for plates. Keeping plates organized on a rack or in a stackable container saves floor space.
- Clear Pathways: Make sure there’s at least 3 feet of clearance on each side of the rack and 5 feet around the bench. This prevents accidental collisions during heavy lifts.
- Flooring: A rubber mat or interlocking foam tiles protects both your equipment and the floor, and it adds a layer of cushioning for squats and deadlifts.
Safety first: double‑check that the rack is level, the weights are secure, and the floor is stable. A simple tape measure can help keep everything proportionate, especially when you’re adding new equipment later on. For reliable safety guidelines, see Harvard Health.
Step 4: Scale Up Without Breaking the Bank
Once you have the basics, you might wonder how to expand or refine the gym as your goals evolve. The trick is to add items that provide the most benefit for the least cost.
- Progressive Overload: Instead of buying a new bar each time you need heavier weight, consider a plate‑stack system that lets you add weight gradually.
- DIY Solutions: A homemade sandbag or a weighted backpack can add resistance to bodyweight moves. A door frame pull‑up bar can be built from a sturdy metal pole and a couple of brackets.
- Second‑hand Finds: Look for used barbells, racks, or benches on local classifieds or community groups. Many people sell gently used gear for a fraction of retail price.
- Multi‑use Accessories: A suspension trainer can replace a full gym machine for rows, push‑ups, and core work.