
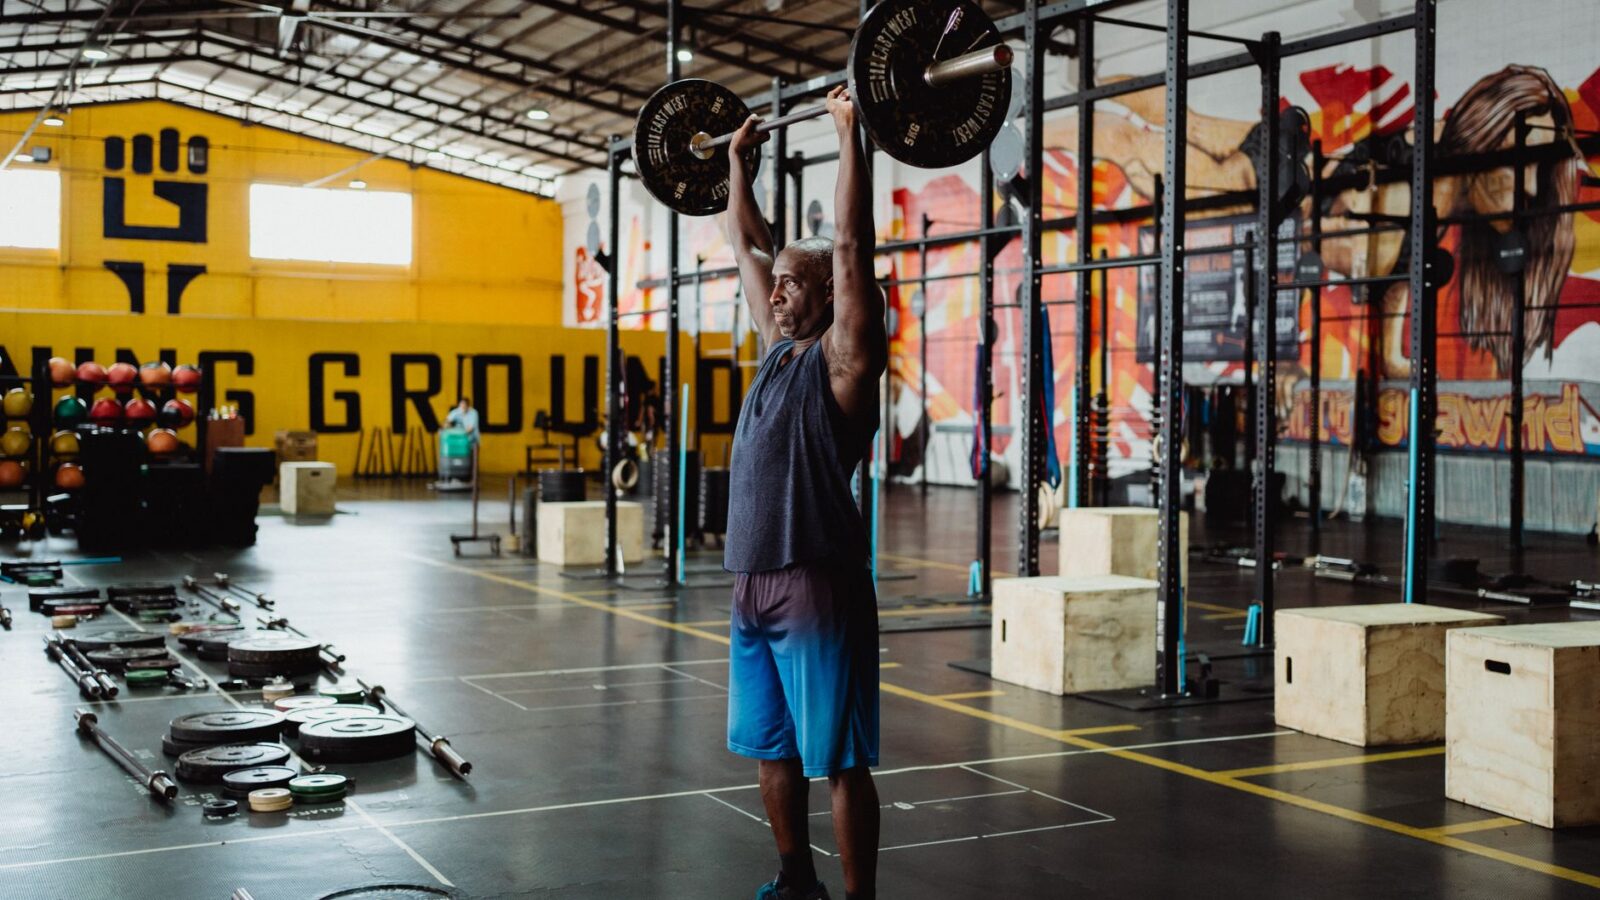
Ever hit a wall in the gym and wondered why the muscles that once grew faster seem to stall, even when trying a budget progressive overload plan. The culprit is usually a missing element in your training plan: progressive overload. It’s the simple principle that keeps muscle fibers challenged, forcing them to adapt and grow. For anyone on a tight budget, mastering progressive overload can be a game changer—no fancy equipment, just smart tweaks to your routine.
Budget progressive overload isn’t a magic trick; it’s a science‑backed method that can be applied at any level of fitness. Whether you’re a brand‑new gym‑goer or a seasoned lifter who’s hit a plateau, understanding how to incrementally stress your muscles will keep the gains coming. And because the concept relies on a few core variables—weight, reps, sets, tempo, and rest—you can keep it affordable and simple.
Let’s break down what progressive overload really means, how to integrate it into a budget‑friendly routine, and avoid the common pitfalls that stall progress. By the end, you’ll have a clear action plan that works with any gym or home setup.

Section 1: The Science Behind Budget Progressive Overload
Muscle growth, or hypertrophy, happens when your fibers are pushed beyond their normal workload. When you lift heavier or push for more reps, you create microtears in the sarcomeres—tiny structural units within muscle cells. The body repairs these tears, building thicker and stronger fibers over time. But the repair process only kicks into gear if the stimulus keeps changing.
Progressive overload is the systematic increase of stress on the musculoskeletal system. It can be achieved by raising the load (more weight), increasing volume (more sets or reps), altering tempo (slower descent, pause, or explosive lift), or shortening rest intervals. Each adjustment nudges the body into a new adaptation zone.
Why does this matter for beginners? Early in training, you can see quick gains because your nervous system is learning to recruit more motor units. As you become more experienced, the body’s response slows, and incremental changes become essential to continue the growth cycle. A budget progressive overload approach can still deliver those incremental shifts—just with a focus on the variables that matter most.
Key Variables for Overload
- Load – The amount of weight lifted.
- Volume – Total reps × sets per exercise.
- Intensity – How close your reps are to failure.
- Tempo – Time under tension for each rep.
- Rest – Recovery time between sets.
Balancing these variables lets you stay on a steady progression path without needing expensive equipment. The trick is to adjust one or two at a time, keeping form intact and tracking progress so you know when it’s time to move up.
Section 2: Applying Budget Progressive Overload on a Budget Gym Routine
Many people think you need a full‑sized power rack or a gym membership to do budget progressive overload. That’s not true. The most effective overload strategies can be applied with basic equipment—dumbbells, a barbell, or even bodyweight. Below is a simple 3‑day split that you can run in any gym or at home with a pair of adjustable dumbbells.
Day 1: Upper Body Push
- Bench Press – 4 sets of 6‑8 reps (start at a weight you can do 8 reps, add 5‑10 lbs every 2 weeks).
- Overhead Press – 3 sets of 8‑10 reps.
- Incline Dumbbell Press – 3 sets of 10‑12 reps.
- Triceps Dips – 3 sets to failure.
Day 2: Lower Body Pull & Core
- Barbell Squat – 4 sets of 6‑8 reps.
- Deadlift (or Romanian) – 3 sets of 6‑8 reps.
- Hamstring Curl – 3 sets of 10‑12 reps.
- Plank – 3 × 45‑second holds.
Day 3: Upper Body Pull
- Pull‑Ups or Lat Pull‑Down – 4 sets of 6‑8 reps.
- Bent‑Over Row – 3 sets of 8‑10 reps.
- Face Pull – 3 sets of 12‑15 reps.
- Biceps Curl – 3 sets of 10‑12 reps.
Now, where does overload come in? Pick one variable to adjust each week or every other week. For example, if you’re comfortable with 6 reps on the bench press, add 5 lbs next session and keep reps the same. If you can’t add weight, increase reps by one or two and keep the load steady. Consistency is key—track each session and aim for a measurable increase in either load or reps.
For those with a tight budget, consider the following cost‑saving tactics:
- Use a barbell and a pair of adjustable dumbbells; they’re cheaper than a full rack.
- Swap a heavy plate for a backpack filled with books to increase load on bodyweight exercises.
- Use resistance bands for pull‑ups or rows when you can’t lift your body weight yet.
- Track progress with a simple notebook or free spreadsheet—no app subscription needed.
Remember, it’s not about lifting the heaviest weight first. It’s about gradual, consistent increases that your body can handle without compromising form. For more workout tips, check out our guide.

Section 3: Tracking Progress Without Fancy Gear
Many beginners fall into the trap of thinking they need a smart watch or a subscription app to see progress. The truth? Your body and a reliable log are enough. Here’s how to keep a low‑cost but effective tracking system.
1. Keep a Training Log
Write down the exercise, load, reps, sets, and any notes about form or fatigue. A simple spreadsheet or a handwritten notebook works. Mark the date and add a quick comment: “felt strong,” “couldn’t finish last rep,” or “form slipped.” Over time, these notes reveal trends and help you decide when to increase weight or volume.
2. Use Body Measurements and Photos
Measure chest, waist, hips, thighs, and arms every four weeks. Take a front